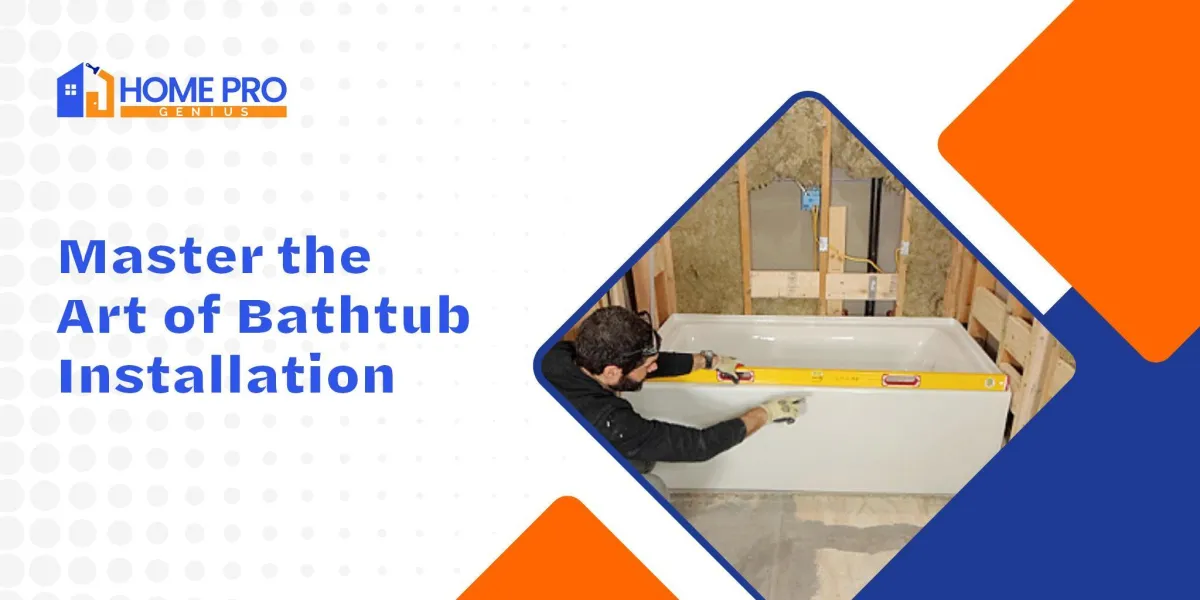
Master the Art of Bathtub Installation
A bathtub isn't just a fixture—it's the heart of a relaxing bathroom. Whether you're upgrading or installing a new one, the process matters. Home Pro Genius is here to guide you through every step of bathtub installation, ensuring a smooth, stress-free experience. Let's dive in!
Choosing the Right Bathtub for Your Space
Not all bathtubs are the same. Your choice depends on style, space, and personal preference. Here are the most popular options:
Freestanding Bathtubs
Perfect for spacious bathrooms.
Available in modern and vintage designs.
Easy to install with minimal structural changes.
Clawfoot Bathtubs
A classic choice for a timeless look.
Typically made from cast iron or acrylic.
Requires careful plumbing placement.
Alcove Bathtubs
The most common and space-saving option.
Installed against three walls.
Works well for shower-tub combos.
💡 Pro Tip: Measure your bathroom carefully before purchasing a bathtub.
Steps to a Smooth Bathtub Installation

1. Plan Your Installation
Before you begin, check your plumbing setup. Bathtub installation requires proper water supply lines and a sturdy floor.
💡 Quick Tip: For homes with older pipes, upgrading to modern plumbing ensures long-term durability.
2. Prepare the Area
Remove the old tub if replacing one.
Inspect and repair the subfloor if needed.
Ensure proper drain and vent placement.
3. Position the Bathtub
Each bathtub type has unique placement needs:
Freestanding bathtubs: Simply place and connect the drain.
Clawfoot bathtubs: Secure feet properly before attaching plumbing.
Alcove bathtubs: Slide into the designated space and seal edges.
🛁 Did You Know? Alcove bathtubs are ideal for small bathrooms because they maximize space efficiency.
4. Secure and Connect Plumbing
Attach the drain and overflow pipe.
Securely connect water supply lines.
Test for leaks before finalizing.
5. Seal and Finish
Apply waterproof caulk around edges for a secure fit. Allow 24 hours for the sealant to dry before using your new bathtub.
Common Installation Mistakes to Avoid
Even a minor mistake can lead to costly repairs. Here’s what to watch out for:
Ignoring weight capacity: A full bathtub is heavy! Ensure your floor supports the load.
Poor sealing: Water leaks cause mold and structural damage.
Incorrect drain alignment: Misaligned drains lead to slow drainage or clogs.
Maintenance Tips for Long-Lasting Bathtubs
Now that your bathtub installation is complete, keeping it in top condition is essential:
Freestanding bathtubs: Clean weekly with mild soap to prevent stains.
Clawfoot bathtubs: Avoid abrasive cleaners to protect the finish.
Alcove bathtubs: Check caulking regularly to prevent water damage.
💡Quick Tip: Always use a non-slip mat in the tub to enhance safety, especially for kids and seniors.
Why Choose Home Pro Genius for Bathtub Installation?
Home Pro Genius simplifies home improvement projects with expert insights and practical solutions. Whether you’re installing freestanding bathtubs, clawfoot bathtubs, or alcove bathtubs, we provide step-by-step guidance to make the process hassle-free.
From choosing the right tub to ensuring a perfect installation, Home Pro Genius is your go-to resource. Enjoy your new bathtub and transform your bathroom into a relaxation haven today!
